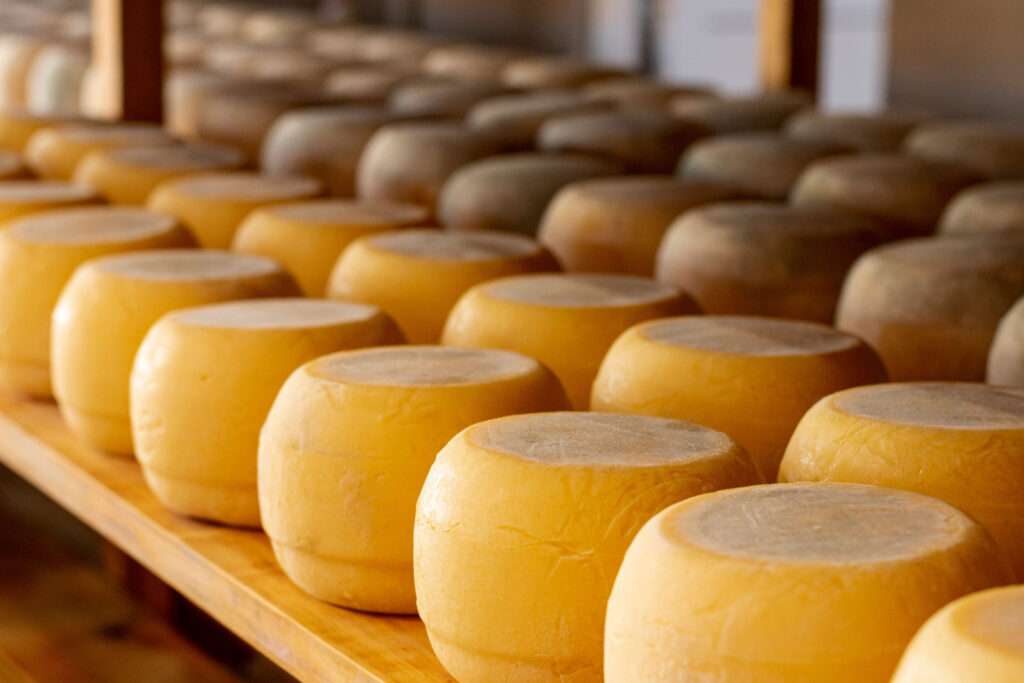
Cheese making is an ancient culinary craft, transforming simple milk into a variety of flavorful and textured cheeses. Whether you’re crafting a soft ricotta or a firm cheddar, the process follows similar principles with delightful room for creativity. This guide will walk you through the essential steps, ensuring you can create delicious homemade cheese.
- Preparation Time: 1–2 hours
- Aging Time: 1 day to several months (depending on cheese type)
- Store Time: Fresh cheese lasts for 1–2 weeks; aged cheeses can be stored for months
Table of Contents
Ingredients: Homemade Cheese
- 1 gallon of fresh milk (cow, goat, or sheep’s milk)
- Rennet (animal or vegetable-based) for coagulation
- Cheese cultures (specific to the cheese variety you’re making)
- Salt (for flavor and preservation)
- Calcium chloride (optional, improves curd strength for pasteurized milk)
Essential Equipment
- Large pot
- Cheesecloth
- Thermometer
- Slotted spoon
- Cheese mold or strainer
- Cheese press (for harder varieties)
- Sanitized work surface
Cheese Making Process
- Prepare the Milk
Start with fresh, high-quality milk. Gently heat the milk in a large pot to around 85–90°F (29–32°C) for soft cheeses or 88–102°F (31–39°C) for harder cheeses. This step activates the cultures, creating the foundation for flavor development. Maintain low heat to avoid scalding the milk. - Add Cultures
Once the milk reaches the desired temperature, add your cheese culture. Stir it in slowly to evenly distribute the cultures, which introduce bacteria essential for fermentation. These bacteria convert lactose into lactic acid, giving the cheese its characteristic tangy flavor. - Coagulate with Rennet
Dilute rennet in cool, non-chlorinated water, and pour it into the milk. Stir gently for about a minute, then let the milk sit undisturbed for 30–60 minutes. During this time, the milk will begin to thicken into curds, a result of the rennet acting on the proteins. You’ll know it’s ready when the curds are firm enough to cut cleanly. - Cut the Curds
Using a long knife, cut the curds into small cubes (about ½ inch) to release the whey. Cutting encourages more whey to drain out, resulting in a firmer texture. Allow the curds to rest for a few minutes, then slowly heat the pot again, stirring occasionally to prevent clumping. - Drain the Whey
After heating and stirring, it’s time to separate the curds from the whey. Pour the curds into a colander lined with cheesecloth, allowing the liquid whey to drain out. For soft cheeses like ricotta or mozzarella, this step is quick. For harder cheeses like cheddar, additional time is required to remove more whey. - Salting the Curds
Once the curds are drained, sprinkle salt over them. Salt is not only for flavor but also acts as a preservative, helping to prevent spoilage during aging. Mix the salt in evenly, ensuring it’s well incorporated. - Forming the Cheese
Place the salted curds into a cheese mold or form, pressing them down to remove excess whey and give the cheese its shape. For hard cheeses, use a cheese press to apply consistent pressure for several hours or overnight. This step determines the final texture and density of the cheese. - Aging the Cheese (Optional)
Some cheeses, like mozzarella, are ready to eat immediately. Others, like cheddar or gouda, benefit from aging. Aging cheese involves storing it in a controlled environment (around 50–55°F) with proper humidity levels. Over time, the flavors mature and develop complexity. Aged cheese can be left for weeks or even months, depending on your desired outcome.
Nutritional Information (per 1 oz of cheddar cheese)
- Calories: 113
- Protein: 7 g
- Fat: 9 g
- Saturated Fat: 6 g
- Carbohydrates: 1 g
- Calcium: 20% of the Daily Value
- Sodium: 180 mg
- Cholesterol: 30 mg
Cheese is rich in essential nutrients like calcium and protein, but it also contains saturated fat and sodium. When consumed in moderation, cheese is a highly nutritious and satisfying food, offering a concentrated source of vitamins A, D, and B12.
Storage Instructions

- Fresh Cheese (like ricotta or mozzarella): Store in an airtight container in the refrigerator for 1–2 weeks.
- Aged Cheese (like cheddar or gouda): Can be wrapped in wax paper or cheese paper and stored in the fridge for several months. Once opened, use within 2–4 weeks.
Tips for Successful Cheese Making
- Quality Ingredients: Always use the best milk you can find. Raw milk often gives superior results, but pasteurized milk works well with calcium chloride.
- Sanitation: Cheese making requires a clean environment. Sterilize all equipment and work surfaces to prevent contamination.
- Patience: Cheese making, especially aged varieties, requires time. Trust the process and allow the flavors to develop.
Conclusion
The art of cheese making is a rewarding experience, transforming milk into a delectable treat that can range from soft and fresh to aged and sharp. With simple ingredients, basic equipment, and a little patience, you can create your own cheese masterpiece at home. Whether you prefer a mild ricotta or a rich cheddar, the options are limitless, and the results are always satisfying. Try experimenting with different cultures, rennet types, and aging processes to discover your favorite variety. Enjoy your homemade cheese with fresh bread, in recipes, or on its own as a delightful snack!
Love is endless
Originally posted 2024-09-30 03:11:40.

